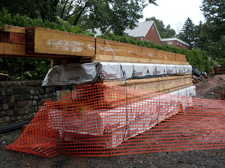
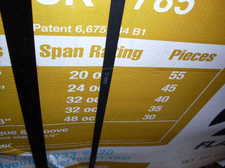
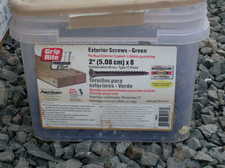
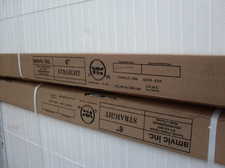
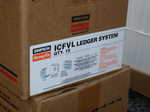
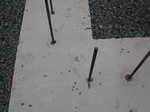
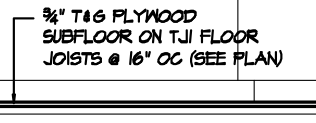
We have a first floor.You can't tell what holds up the plywood - or that this isn't regular plywood but rather engineered sub-flooring from AdvanTech Flooring. It's only 23/32" instead of 3/4" plywood. But, it is rated for 24" on-center spans and, while the plans called for 16" centers, Victor dropped that to 12" centers for increased floor strength over some of the big spans we have. It's also supposed to be a "green" product (because it uses scrap wood? I don't know), and is supposed to be able to sit in standing water for 30 days without issues. Plus it has a 50 year warranty. Though I doubt the fine print will let us cash in on that - nor do we want to need it.
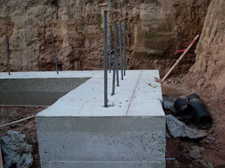
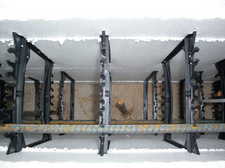
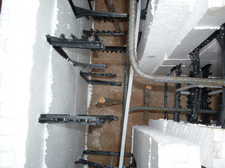
These pictures were taken while they were still working the basement putting the last of the lally columns in place but you can see the safety rails around the far (main) staircase; they built a similar structure around the near (office) staircase before they left for the day. Took Double Hammer Construction less than a day and a half to install everything since they came yesterday with nine guys, plus the owner, and Victor, our general contractor. Today, Saturday, was only six guys and Victor, though Victor had to run some errands getting replacement lumber for items that were wrong, broken or short.

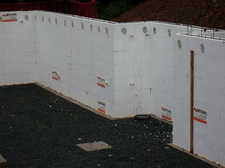
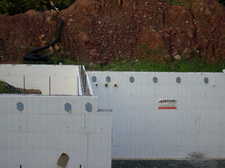
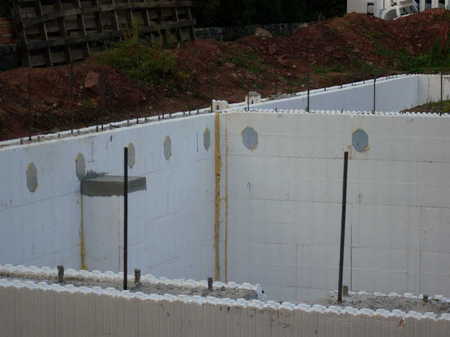
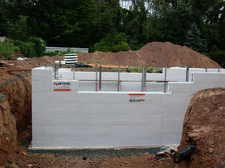
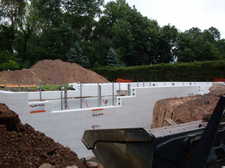
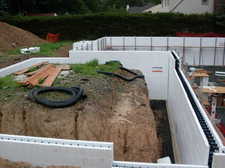
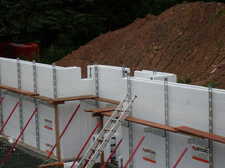
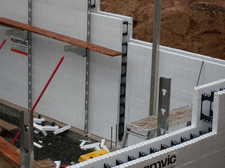
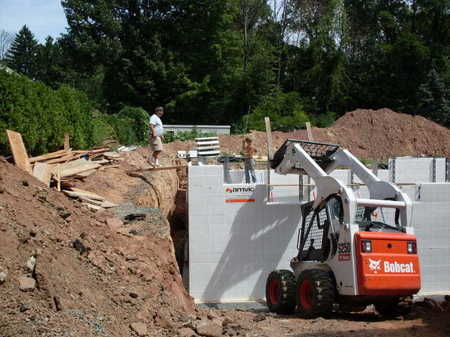
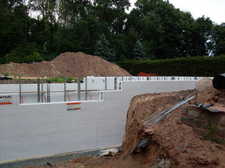
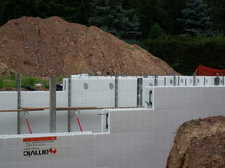
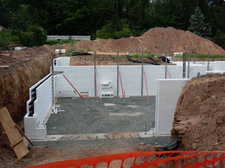
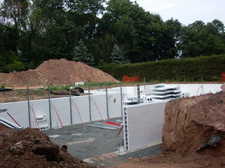
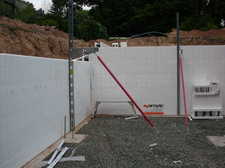
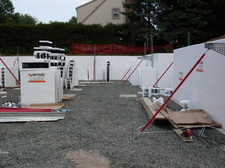
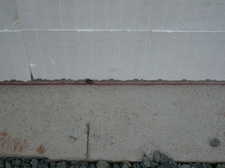
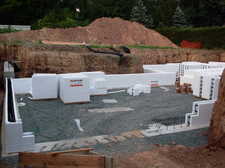
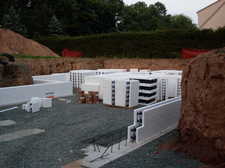
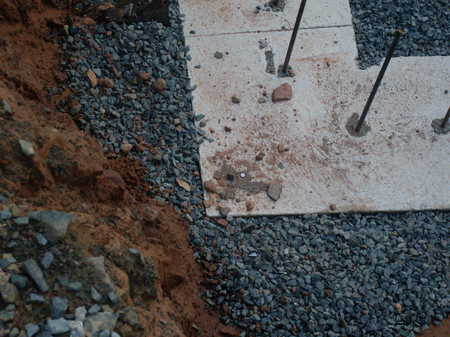
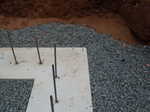
Frank and his crew will be back after Labor Day (that is, starting Tuesday, September 6th) to work on the first floor walls. That will probably take longer than the basement walls since they have to deal with all the openings for the doors and windows. They will also pour the concrete slab for the basement floor; they wanted to wait until after the first floor was in so they had some shade. Otherwise, the floor would cure too quickly and wouldn't turn out as well as we hope.
These pictures were taken while they were still working the basement putting the last of the lally columns in place but you can see the safety rails around the far (main) staircase; they built a similar structure around the near (office) staircase before they left for the day. Took Double Hammer Construction less than a day and a half to install everything since they came yesterday with nine guys, plus the owner, and Victor, our general contractor. Today, Saturday, was only six guys and Victor, though Victor had to run some errands getting replacement lumber for items that were wrong, broken or short.
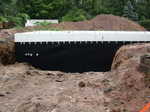
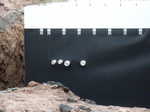
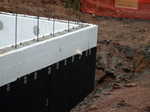
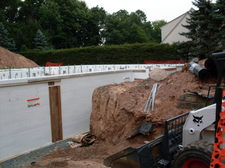
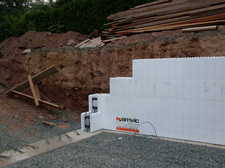
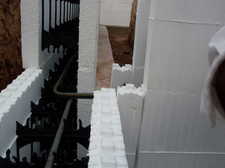
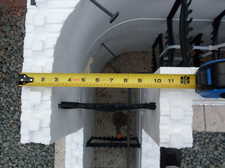
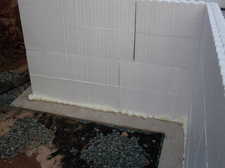
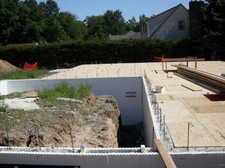
Now we have to get a backfill inspection and Walter can come back and backfill around the outer walls sometime this coming week. That will let me walk on the first floor since right now you have to walk the plank and that doesn't work well when you have a fear of heights.
Frank and his crew will be back after Labor Day (that is, starting Tuesday, September 6th) to work on the first floor walls. That will probably take longer than the basement walls since they have to deal with all the openings for the doors and windows. They will also pour the concrete slab for the basement floor; they wanted to wait until after the first floor was in so they had some shade. Otherwise, the floor would cure too quickly and wouldn't turn out as well as we hope.