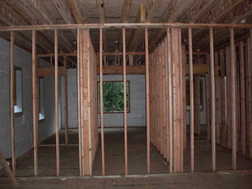
Up until now, it was just one big first floor. But now we have the studs up for all the first floor walls so its easier to picture what the house will look like when it is done. (Easier - not easy. And worse in 2D pictures where depth perception is much more difficult.)
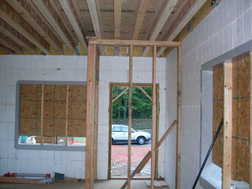
Here's a view from inside the first floor office space.
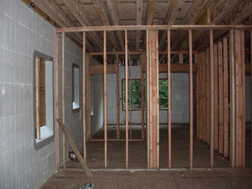
And a view from the family room "through" the walls into mom's bathroom, closet and laundry room, as well as the bedroom beyond.
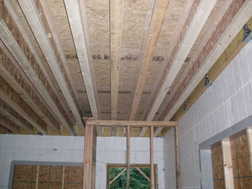
Depending on what is above, the joists are spaced differently so don't just assume that they are located every 12" or every 16" apart.
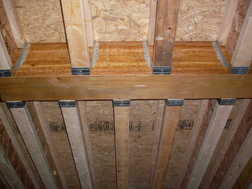
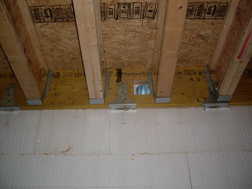
Some penetrations lined up perfectly and just required a small pocket in the LVL.
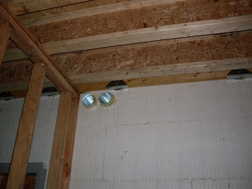
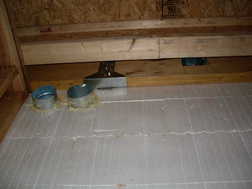
Still others were easy fit in the LVL but then got blocked by a floor joist. (You might recognize these three penetrations from the last entry to this site.)
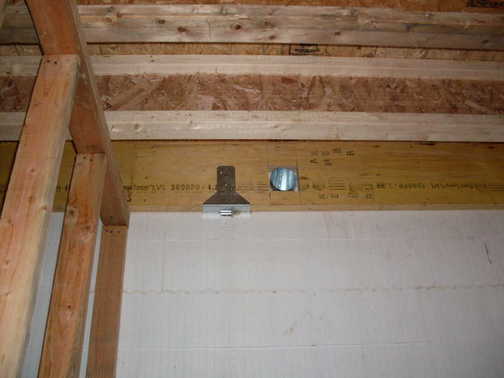
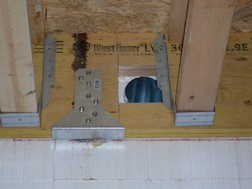
And yet others are oh so close but blocked by part of the joist hanger. In all these cases, we'll just workaround these issues as work proceeds on the construction.
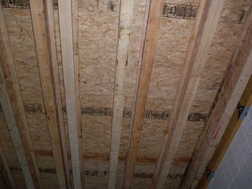
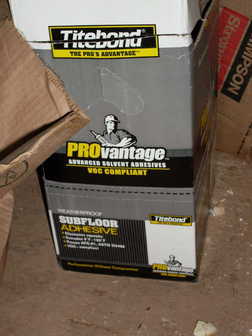
The subfloor is glued down before it is nailed so it should hopefully never creak or feel spongy as you walk on it. And I wouldn't want to get try to count how many nails were used so far (or will be in the weeks and months to come).
Here's a view from inside the first floor office space.
And a view from the family room "through" the walls into mom's bathroom, closet and laundry room, as well as the bedroom beyond.
Depending on what is above, the joists are spaced differently so don't just assume that they are located every 12" or every 16" apart.
Some penetrations lined up perfectly and just required a small pocket in the LVL.
Still others were easy fit in the LVL but then got blocked by a floor joist. (You might recognize these three penetrations from the last entry to this site.)
And yet others are oh so close but blocked by part of the joist hanger. In all these cases, we'll just workaround these issues as work proceeds on the construction.
The subfloor is glued down before it is nailed so it should hopefully never creak or feel spongy as you walk on it. And I wouldn't want to get try to count how many nails were used so far (or will be in the weeks and months to come).

Leave a comment