October 2010 Archives

Second floor walls and front steel

| No Comments | No TrackBacks
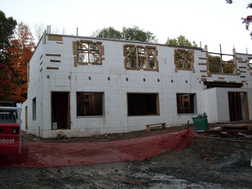
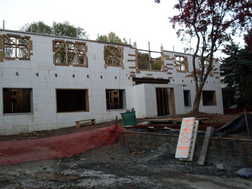
Work on the last of the insulated concrete forms continues - we're almost ready for the last of the walls to be poured.
front-1.jpgfront-2.jpg

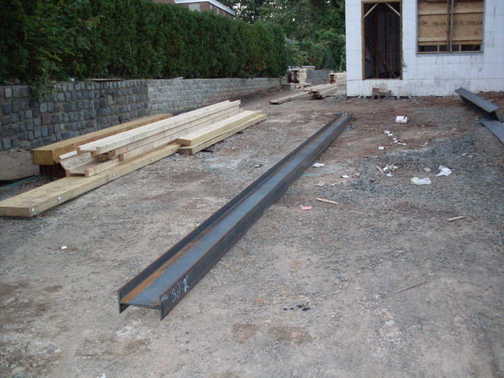
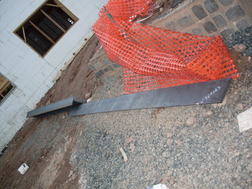
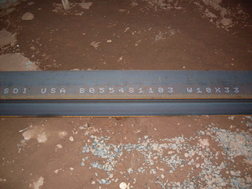
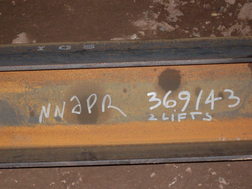
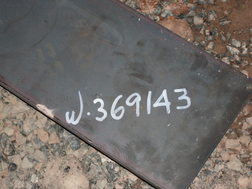
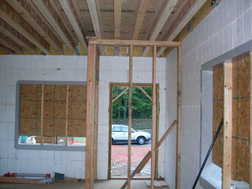
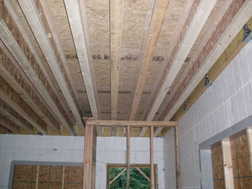
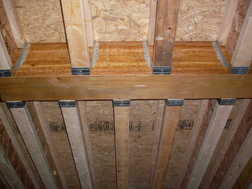
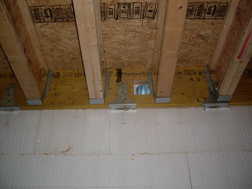
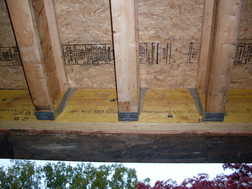
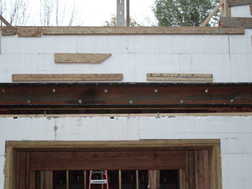
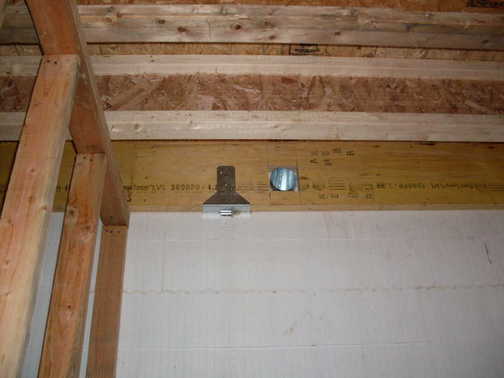
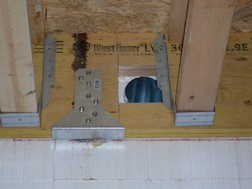
The steel plate was welded to the steel beam and both were lifted into place above the front door/under the front porch. Then the LVL was put up against the beam and steel bolts were used to hold them together. Finally, the joist hangers were mounted to the LVL to hold up the floor.
beam-1.jpgbeam-2.jpg

Steel beams

| No Comments | No TrackBacks
If you've been following, you've seen the Big Beams made of wood. A few of them in various places around the house, more than just the pictures you've seen. But some places, wood just doesn't do the job. So, today we got some steel.

There's one big (32 ft. 2 in, W10x26) steel beam for the garage.
garage-1.jpg
garage-2.JPGgarage-3.jpg

And there is a steel beam and a steel plate which will hold up the front porch area.
front-1.JPGfront-2.JPGfront-3.JPGfront-4.JPG

Oh, and Victor finally put his Conquest Builders sign up out front. We got him a prime advertising location, he may as well use it!
conquest.jpg

Studs up

| No Comments | No TrackBacks
Up until now, it was just one big first floor. But now we have the studs up for all the first floor walls so its easier to picture what the house will look like when it is done. (Easier - not easy. And worse in 2D pictures where depth perception is much more difficult.)

Here's a view from inside the first floor office space.
officedoor-1.jpgofficedoor-2.jpg

And a view from the family room "through" the walls into mom's bathroom, closet and laundry room, as well as the bedroom beyond.
moms-1.jpgmoms-2.jpg

Depending on what is above, the joists are spaced differently so don't just assume that they are located every 12" or every 16" apart.
joists-1.jpgjoists-2.jpg

Some penetrations lined up perfectly and just required a small pocket in the LVL.
penetrations-1.jpg

Still others were easy fit in the LVL but then got blocked by a floor joist. (You might recognize these three penetrations from the last entry to this site.)
penetrations-2.jpgpenetrations-3.jpg

And yet others are oh so close but blocked by part of the joist hanger. In all these cases, we'll just workaround these issues as work proceeds on the construction.
penetrations-4.jpgpenetrations-5.jpg

The subfloor is glued down before it is nailed so it should hopefully never creak or feel spongy as you walk on it. And I wouldn't want to get try to count how many nails were used so far (or will be in the weeks and months to come).
adhesive.jpgnails.jpg

About this Archive

This page is an archive of entries from October 2010 listed from newest to oldest.

September 2010 is the previous archive.

November 2010 is the next archive.

Find recent content on the main index or look in the archives to find all content.

Categories

Pages

  • 2008
OpenID accepted here Learn more about OpenID
Powered by Movable Type 5.02