July 2010 Archives

Draining

| No Comments | No TrackBacks
Under the basement slab, and outside the footers, goes clean stone. There is also drainage piping and the sump pits that need to be put into place. Unfortunately, work didn't let me get there in time to see the work-in-progress, only to see the results.

Looks much more peaceful in gray rock instead of brown mud though. Hopefully, the fact that they had to bend rebar to get the backhoe in and out of the basement won't present any problems going forward.

Drainage-0.JPGDrainage-1.JPG

Drainage-2.JPGDrainage-3.JPG


Drainage-4.JPGDrainage-5.JPG

This is what should be under all that stone...
Drainage-Footers-PerPlan.png

Pause, breathe, ...

| No Comments | No TrackBacks
A short pause in work today. Partly because of the rain (and resulting mud), partly because the footers need a little bit of time for the concrete to cure.

Footers-in-mud.JPG

Feet wet

| No Comments | No TrackBacks
To pour the footers, we need concrete mixer trucks, in this case from County Concrete Corp. (They gave Frank the best price.) I had to go to work so I'm not sure how many trucks we needed. Each one dumps its load into the concrete pump truck. It takes about half an hour to use up one truck's worth of concrete but the next truck is already parked a few feet away waiting to offload its cargo.

Concrete01.JPG

The pump truck, in this case from Lehigh Concrete Placement Inc., (Frank works with them regularly and feels comfortable using them) has a long boom arm to deliver the concrete to where it is needed even if its too far away from where the trucks themselves can reach. In this case, the mixer stayed on the street and the pump truck on the driveway where it meets the street.

Concrete02.JPGConcrete03.JPGConcrete04.JPG

The truck driver can control the boom remotely (the man on the left side of the left picture) while Frank and his crew work in and next to the forms, making sure the concrete flows smoothly, where it needs to go and then smoothing the top of the footers.

Concrete05.JPGConcrete06.JPG

This is what the site looks like after they finished for the day.

Concrete07.JPGConcrete08.JPGConcrete09.JPG

A view from where the driveway will be at the front of the house, looking along the basement wall under the office (lower section) and garage (upper section), and another view from along the back (foundation) wall for the garage.

Concrete10.JPGConcrete11.JPG

And, yes, our concrete-encased electrode/Ufer ground is still there.

Concrete12.JPG

Where the Drywell Was

| No Comments | No TrackBacks
Pictures are worth a thousand words, right? So I can stop typing?

WhereTheDryWellWas1.JPG

WhereTheDryWellWas2.JPGWhereTheDryWellWas3.JPG
WhereTheDryWellWas4.JPGWhereTheDryWellWas5.JPG
WhereTheDryWellWas6.JPGWhereTheDryWellWas7.JPG

The Ufer Ground

| No Comments | No TrackBacks
WikiPedia says "The Ufer Ground is an electrical earth grounding method named after Herbert G. Ufer, who developed the technique during World War II in Arizona." More formally, this is known as a "Concrete-Encased Electrode."

Basically, if you have sufficient amount of sufficiently sized rebar, and its in the correct place within the concrete footing, it can be used as one of (or the only) grounding method for the building's electrical system. Actually, its a bit more than can - if it meets the requirements, it must be incorporated into the building's electrical system. So we have a bit more than 13 ft. of copper wire (I couldn't get it perfectly straight to measure) clamped to the rebar near where we plan the electrical service entrance.

UferGround1.JPG

UferGround2.JPGUferGround3.jpg

Feet on the ground

| No Comments | No TrackBacks
Frank and his crew (Franks Insulated Concrete Forms & Building Systems) have been busy getting the wooden forms ready to hold the concrete that will make the footers upon which the house will sit. Unfortunately, we lost a day as he originally built the forms with overlapping boards (left picture) and the building inspector would not approve that. So, he had to redo his work with butt joints (right picture).

Overview1.jpgOverview2.jpg

There are two courses of rebar throughout the continuous footers, held in the right location using rod chairs, overlapping each other and tied together with steel tie wire.

RebarPlaced.jpgRodChair.jpg

Here is where the drywell used to be located, as well as a closeup of one of the piers.

DryWellOverview.jpgDryWellCloseup.jpg

CloseupPier.jpg

A few more pictures to give you a general overview of the site.

Overview3.jpg

Overview4.jpgOverview5.jpg
Overview6.jpgOverview7.jpg

Finally, in case there was any doubt, we did pass our footing inspection. To make sure we knew, the inspector found a convenient spot for the sticker.

FooterInspection.jpg

Measure twice

| No Comments | No TrackBacks
Okay, maybe more than twice.

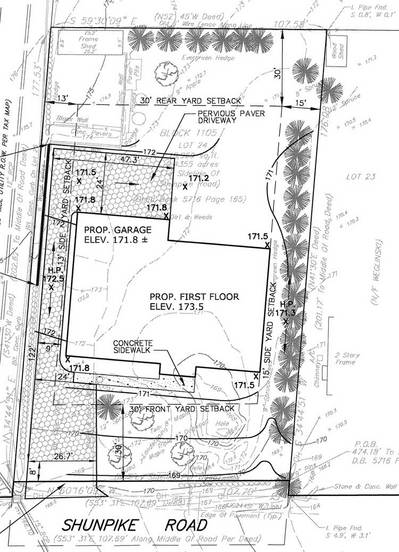
We had to get a survey before we bought the property. Then we needed an updated boundary and topographic survey to finalize where the house sat on the property.

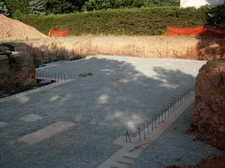
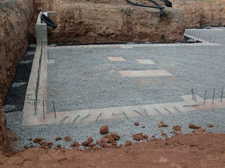
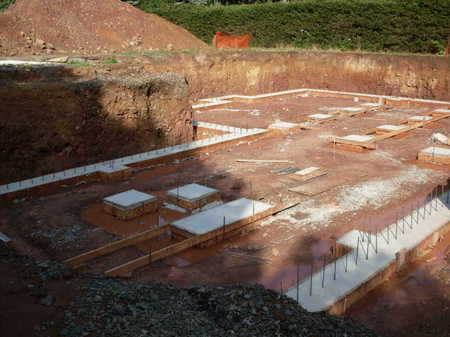
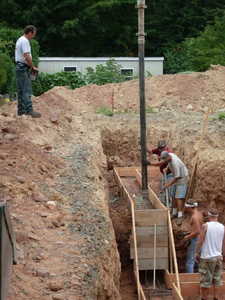
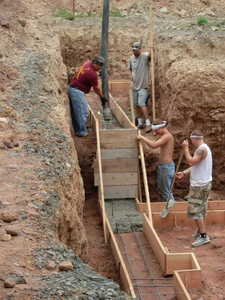
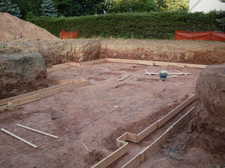
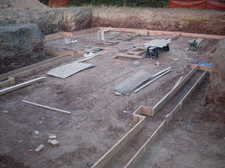
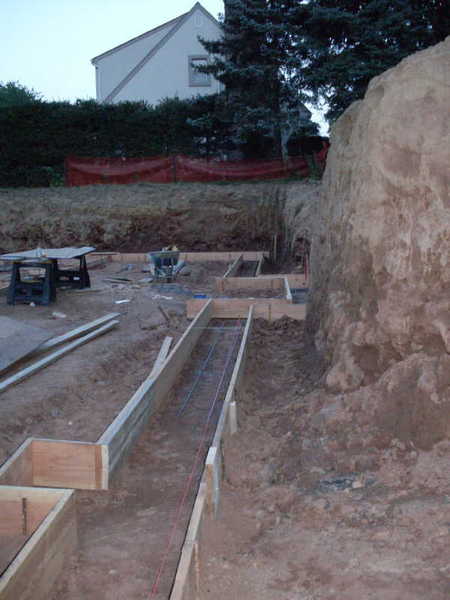
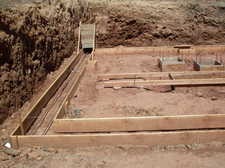
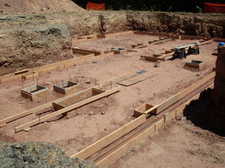
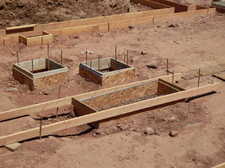
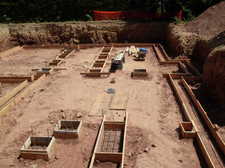
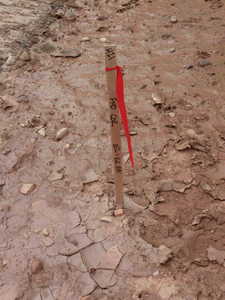
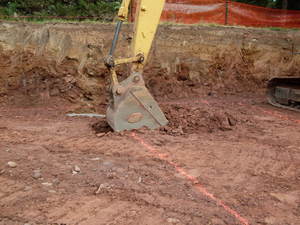
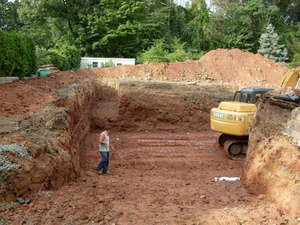
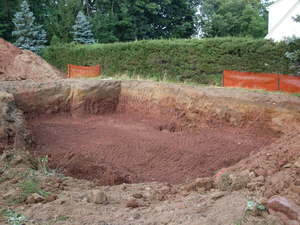
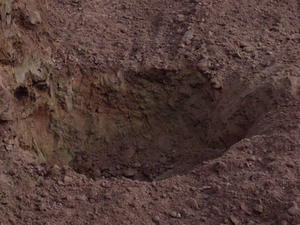
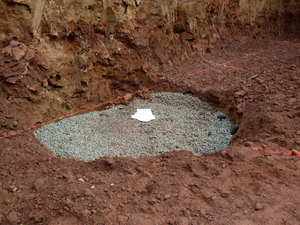
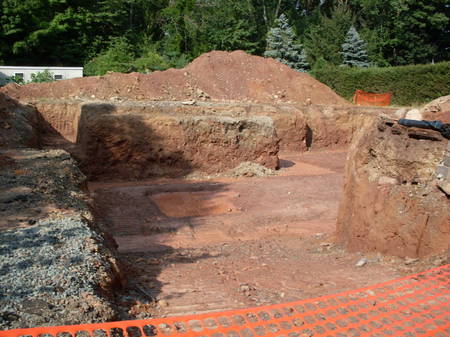
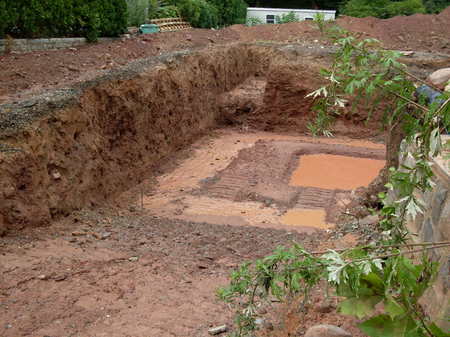
Next, the surveyors came back to set stakes indicating where we needed to excavate. After the initial excavation, Victor and Chrispin (Conquest Builders) measured where the piers would go and Walter (Heckel Excavators) dug that out as well.

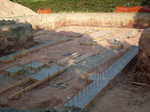
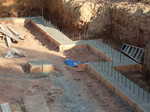
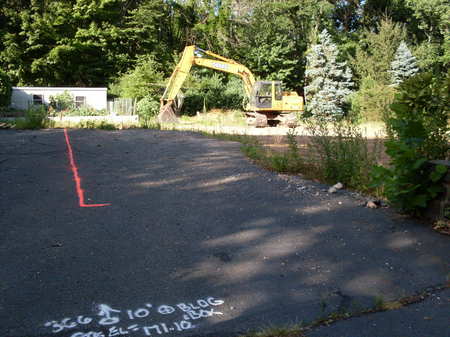
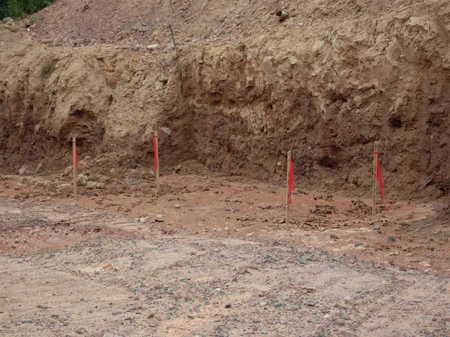
But, now the surveyors are back to mark the exact location of all the corners before the masons come.

CornerMarker1.jpg
CornerMarker2.jpgCornerMarker3.jpg

We also got a delivery of rebar.

RebarDelivered.jpg

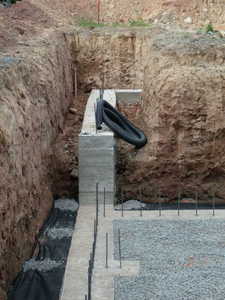
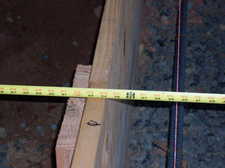
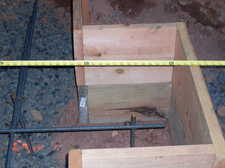
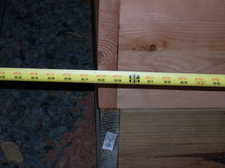
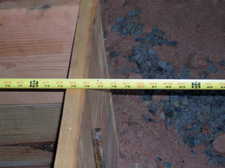
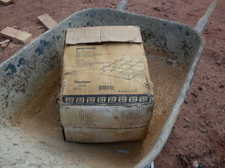
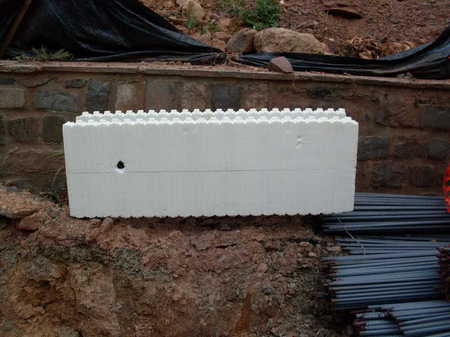
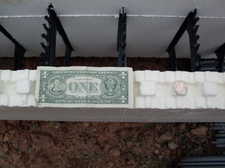
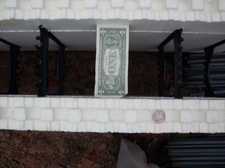
By the way, in case you were wondering what an insulated concrete form (ICF) block looks like, we have a sample. This particular one is a 6" Amvic ICF block. The black spot in the first picture is where some of the foam has been removed to reveal the plastic web inside. To give you some perspective, a dollar bill (approx. 2.61" x 6.14") and a quarter (0.955") are also shown.

The ICF block is composed of two expanded polystyrene (EPS) boards, 16 inches high by 48 inches long, and come with 4, 6, 8 or 10 inches between each board which gets filled with concrete. (The 10 inch core block is 24 inches high.) Each foam board is 2.5 inches thick and they are joined by plastic webs placed every 6 inches. (After installation, we can nail or screw things into these plastic webs, just as you would normally fasten to a wooden stud.) The top and bottom of each board has foam "pegs" (1" square and spaced 1" apart) so that the blocks can lock to each other just like Lego blocks.

ICFBlock1.jpg
ICFBlock2.jpgICFBlock3.jpg

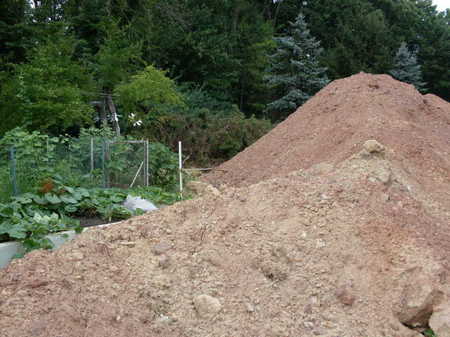
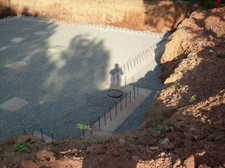
Finally, in case you were wondering, mom's garden is doing just fine. Of course, getting to it is a little difficult for her but its feeding some of the local wildlife just fine.

Garden.jpg

The First Ten Days, Take II

| No Comments | No TrackBacks
Fast forward two years. When the banks imploded, our loan application got caught up in Wachovia's troubles. But, because everyone was worried, it took almost two years to find a bank ready to lend money again. And, as a result, we are making progress again.

The surveyors were out and updated the boundary and topological survey. Then they prepared a grading plan and staked out the location of the house.
Grading-Plan.jpg
Victor from Conquest Builders then expanded on the stakes with painted lines and string, followed by Walter Heckel and "the machine" going to work digging for the basement, foundation and footers. Though it is rocky under the dirt - not surprising since the house is on the side of a hill and the former Houdaille Quarry is just around the corner. But, one scoop at a time, Walter digged away and Victor kept marking the land as the old marks were removed with the dirt.
Rocky Terrain.JPGOne Scoop.JPGWork In Progress.JPG

You'll never know what you'll find underground but thankfully we only had one surprise. At some point, many years ago, someone had apparently built a dry well on the property. Rocks, stacked on top of each other, made a place to collect rain water. But, Walter and his machine removed it easily and filled the hole with gravel. To give you some idea of the size of this hole, the last picture has a few letter-sized sheets of paper sitting on top of the gravel.
Dry Well - Location.JPGDry Well - Close-up.JPGDry Well - Filled.JPG

And, of course, there are the obligatory before and after pictures!
Before.JPGAfter.JPG

Unfortunately, further work is delayed a few days. We got a lot of rain and, despite the high heat, the already high humidify didn't help the holes dug for the footings to dry out. But, a mudbath is supposed to be good for you, right?
Mudbath.JPG

About this Archive

This page is an archive of entries from July 2010 listed from newest to oldest.

August 2008 is the previous archive.

August 2010 is the next archive.

Find recent content on the main index or look in the archives to find all content.

Categories

Pages

  • 2008
OpenID accepted here Learn more about OpenID
Powered by Movable Type 5.02